Geo tagging is the process to embed GPS coordinates data in the form of latitude longitude in decimal degrees to the image EXIF data. Modern smart phones with built-in GPS record this information when you click the photo.social media platforms like instagram, facebook and X also add location to the uploaded images. Geotagged images are also used in professional work while working with maps and GIS data. Geo-tagged images may be beneficial for seo when search engine reads the metadata of photos. You can easily organize photos by location. It helps to find your business or content on map. It can also be used in mapping and spatial analysis. People who travel for tourism can map their trip using the photos that were capture during the trip.
Full Screen
Most of the search engines use geographical location signals to understand the spatial relevance of your business and where to show your website or images to target more precisely relevant audience.
Key Features of Image Geotagger:
- Browse or drag and drop images in single image form or batch of 10 images at a time.
- All images will be display in a table with small thumbnails.
- Respective EXIF data information of each uploaded image will be visible to user in different columns.
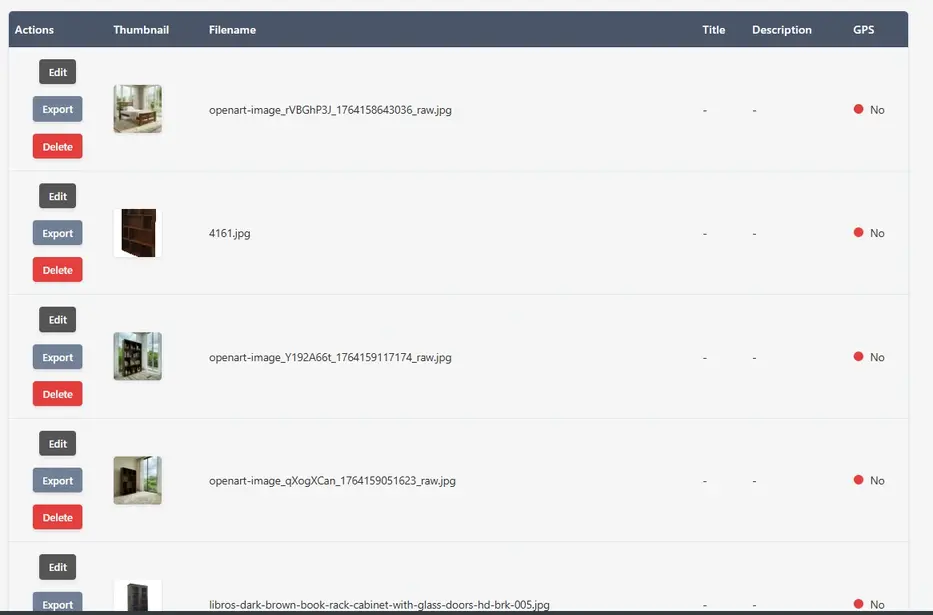
- Column names Actions, Thumbnails, File Name, Tittle, Description and GPS shows the required information for each uploaded photo respectively.
- Action Column has 3 buttons for each image, Edit Export and Delete.
- Easy Export of edited exif data of image and download photo with modified metadata.
Limitations:
Since this is a free tool created to support SEO professionals, image editing is limited to 10 images per batch. Please use it responsibly.
The maximum allowed image size is 10 MB per image.
User Guide: Geotagger & EXIF Editor App for SEO – Step-by-Step Guide
This image geotagger is a simple and user-friendly tool that allows you to accurately add GPS coordinates to photos and edit EXIF metadata such as title, description, artist, and copyright information with ease. Properly optimized image metadata can help improve local and image SEO performance.
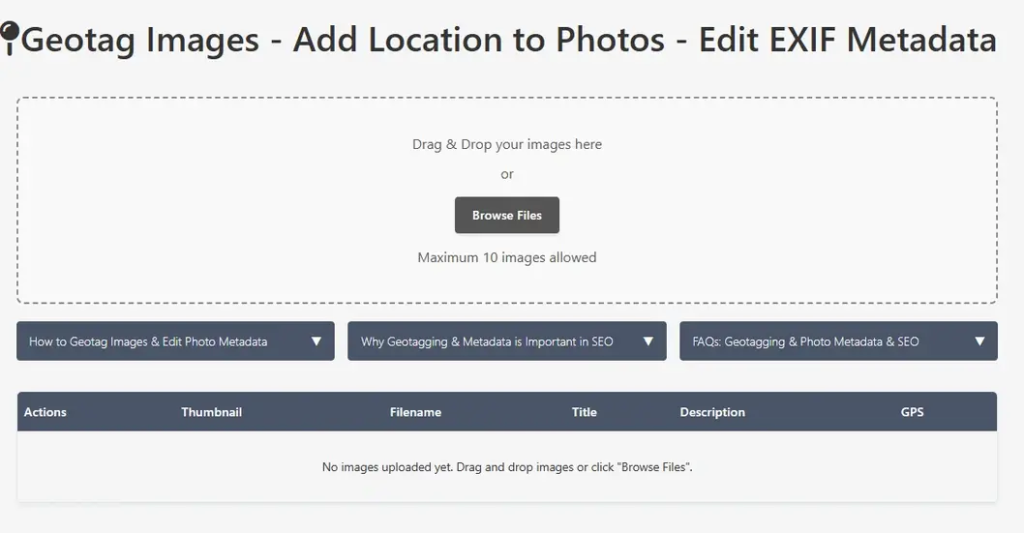
Step 1: Upload image to the application
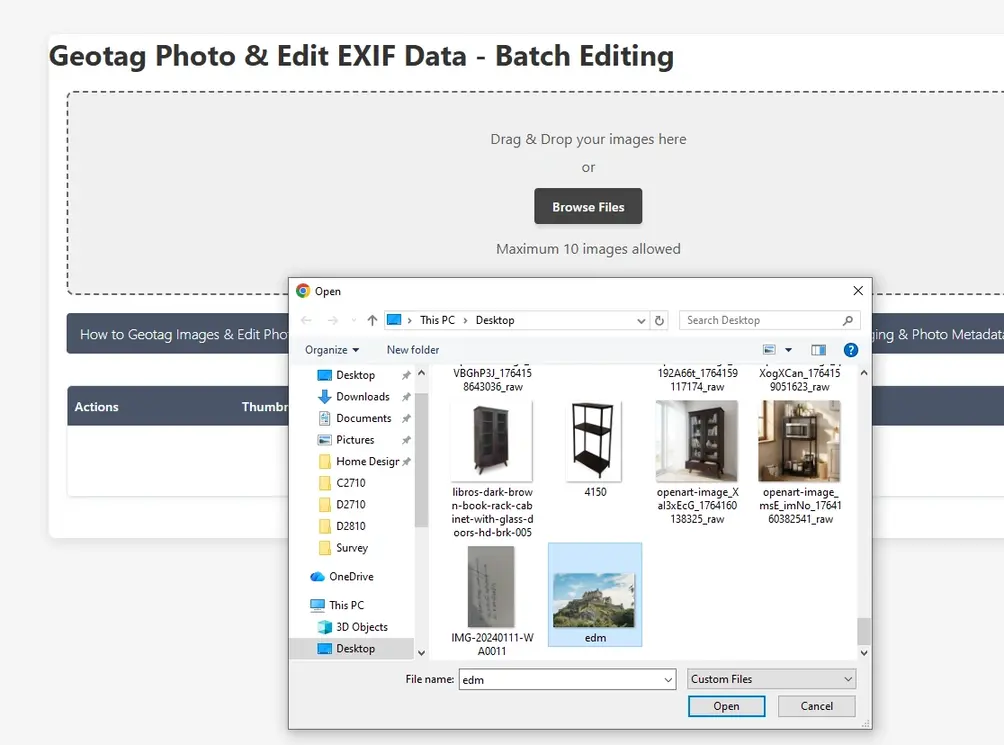
The interface allows users to upload images either through the file browser or by simply dragging and dropping image files. Multiple images can be uploaded individually, one after another.
Select image files.
Step 2: Check Image Details
Uploaded images are displayed in a table with thumbnails, metadata attributes, and GPS information, indicating whether location data is present or not.
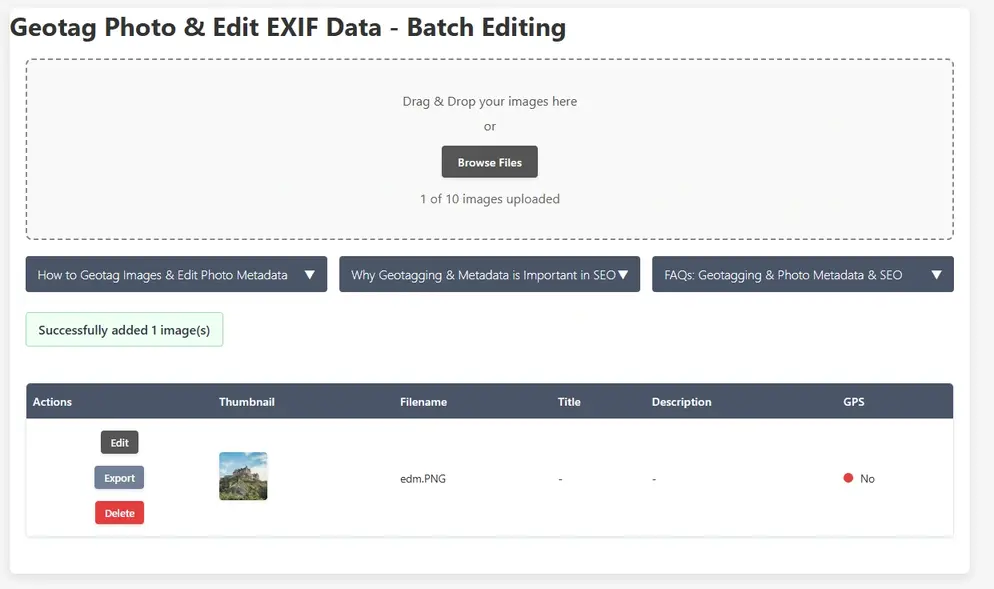
A maximum of 10 images per batch can be uploaded. All uploaded images are displayed in a table with thumbnails and EXIF attributes, and the GPS data status is clearly shown, indicating whether location information is available or not.
Step 3: Edit Each Image’s Metadata along with GPS Data
Now user can edit each image one by one. Each image row in the table has 3 options. Edit, Export and Delete. Click on Edit button then a small information popup will be displayed.
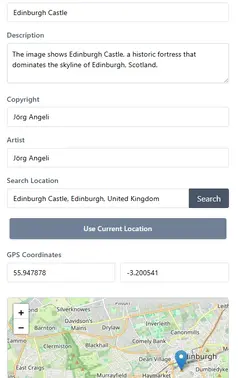
Users can add a photo title, edit or create a description, assign an author, and include a copyright statement.
There are multiple ways to add GPS coordinates: users can search for a location, enter coordinates manually, or use their current location.
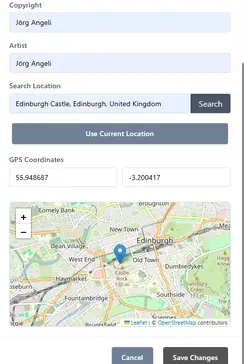
After clicking the Save button, the added information is applied to the image and updated in the images table. The GPS information indicator will turn green, showing that location data has been successfully added.

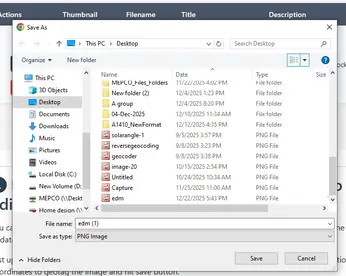
Step 4: Export the Images
You can now export the images by clicking the Export button and save them to your local drive.
Open Source Resources